


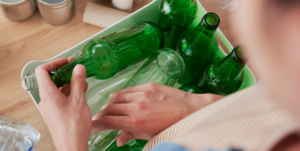
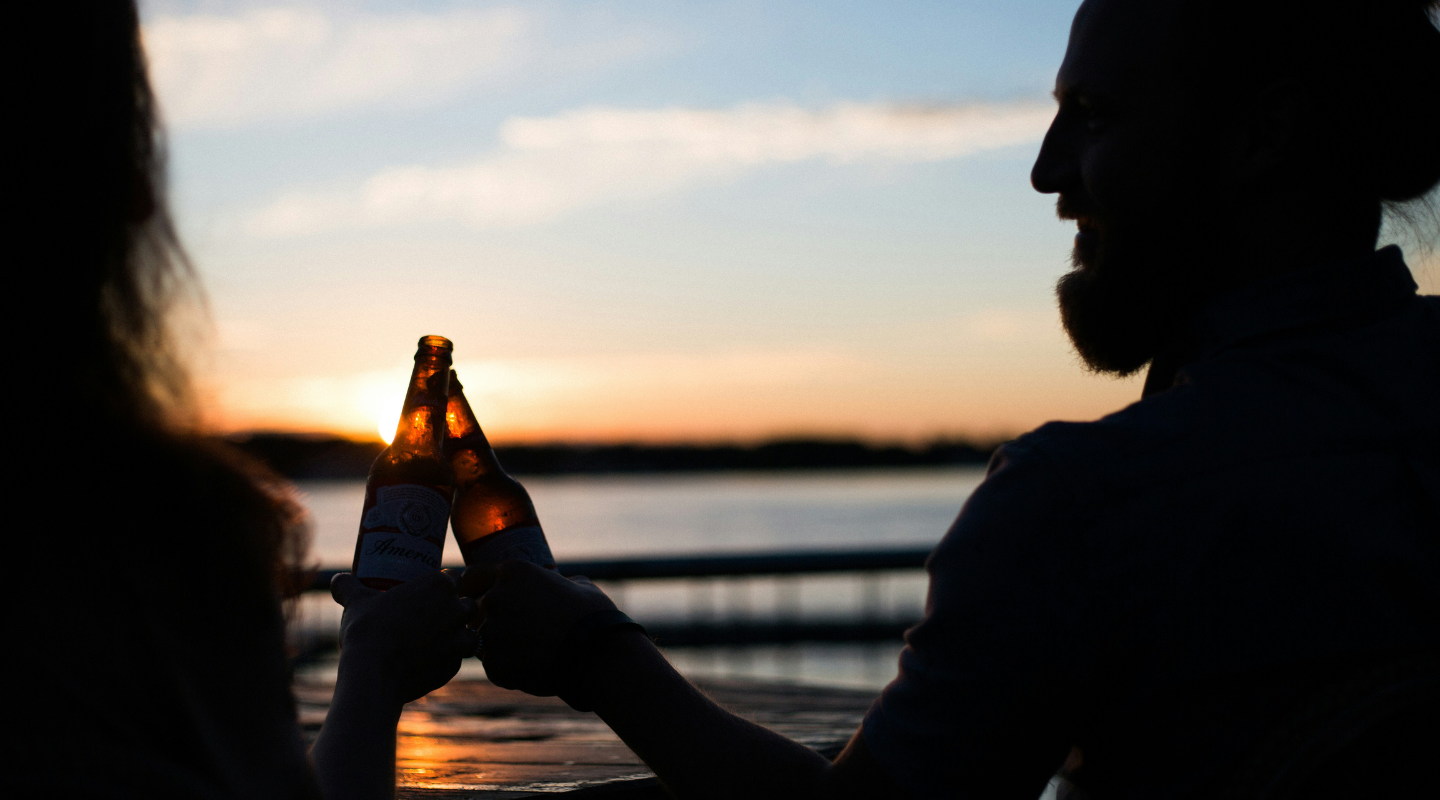
Warm weather, high temperatures, long evenings – summer is in full swing. It’s a great season to get out in the fresh air, relaxing and spending quality time with friends and family. Here are some ideas to use that valuable time, as well as reusing all that leftover glass which is 100% recyclable.
1. Lemonade Stand
What you’ll need:
-Chest of drawers or a table
-Glass drinks container
-Glass bottles
-Glass jars
-Baskets for mix-ins

This is a great little novel idea thanks to Kojo Designs. There is plenty of scope to be creative in terms of decoration and for mixers for the various drinks you would like to put on the stand. This would be ideal for any summer social event!
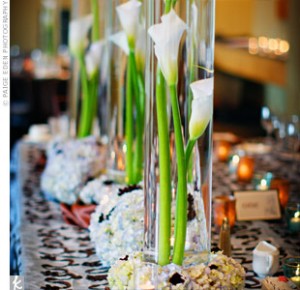
2. Submerged Underwater Flower Centerpieces
What you’ll need:
-Flowers/greenery/branches to be submerged
-A glass vase (but also large jars, containers, etc can be used)
-Stainless steel washers and/or fishing sinkers
-Decorative rocks, gravel, stones seashells
-Floral tape
-Floral/fishing wire or Fishing line
-Distilled water
-Optional: Floating candles, Submersible LED lights
Instructions:
1. Take your vase (make sure it is nice and clean!) and your flowers/branches/greenery and plan how you would like it to look once in the vase and submerged.
2. If you are using more than one stem and know how you want them grouped you can now floral tape the group of stems together to hold them in place near the bottom (You are going to want to hide the tape with rocks/stones so don’t tape them too high!)
3. With your floral wire or fishing line tightly wrap around the stem(s) and then tie/attach the wire or line to the steel washer or fishing sinker.
4. Gently slide your flowers/greenery/branches into the vase, letting the weight rest at the bottom.
5. Hide the washer/sinker with your decorative stones, river rocks, gems, sand…whatever you think looks pretty!
6. Now all you have to do is fill it up! Just make sure the water is distilled water if you do not want the little bubbles to form on your flowers.
A unique way of saving money and recycling glass from DIY Weddings, these centerpieces are perfect on the tables at a wedding reception but they also make nice decorations to brighten up your living space. Get creative, have a look in your garden and see what you can add to your centerpieces!
3. Glittered Wine Glasses
What you’ll need:
-Wine Glasses
-Decoupage Glue
-Foam Brush
-Glitter
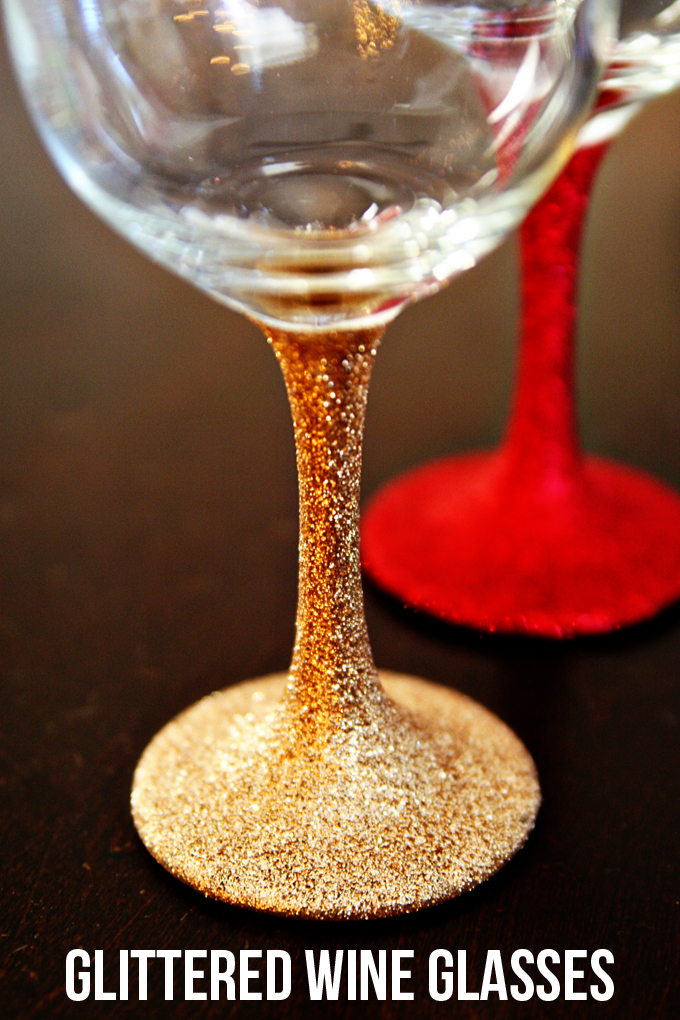
Instructions:
1. Brush a thin layer of decoupage glue over the wine glass stem, evenly coating the entire stem.
2. Glitter the entire decoupaged wine glass stem, lightly shaking off excess glitter. Allow to dry. Once dry, brush a thin layer of decoupage glue over the glitter to keep it from shedding.
This is a great one for adults who are looking to jazz up their wine glasses. See Vanessa Craft is our inspiration for these glittered wine glasses. These are very easy to make and really stand out in the evenings especially under light because of the glitter.
4. Glass Gem Suncatchers
What you’ll need:
-Glass Gems (like the little things you’d put in the bottom of a vase)
-PVA Glue
-String/Ribbon/Fishing wire
-Suction Cup
-Plastic Lids
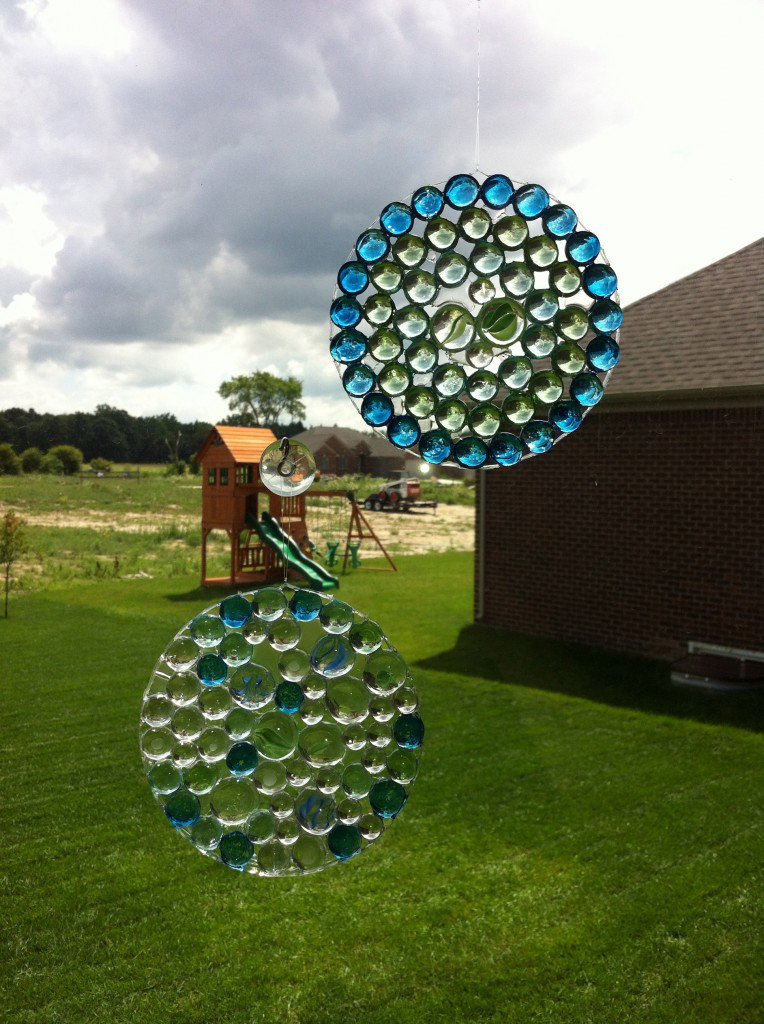
Instructions:
1. Squeeze lots of glue into the lid. Make sure it coats the entire bottom nicely.
2. Arrange the gems – be imaginative and think of patterns!
3. Wait 2-3 days for it to totally dry.
4. Peel off the lid and attach your ribbon or string to the suction cup and that’s it, you’re done.
The mixture of colours with the sunlight are sure to delight the eyes over summer and keep everyone amused. Thanks to Ramblings of an Urban Mom for this wonderful idea.
5. Stained Glass Art
What you’ll need:
– Glitter glue
-Toothpicks or paint brushes
– Food coloring
– Picture frames (5×7 recommended)
– Suction cup hangers (for hanging frames on your window later on)

Instructions:
1. You want to begin by disassembling the frame. The cardboard back to the frame doesn’t get used for the project so you can set it aside.
2. Clean the glass with some glass cleaner and then place it inside the white frame.
3. Grab hold of the hanging tab and decide how you’re going to hang your frame(vertically or horizontally) position the hanging tab onto the glass in the middle of the frame and then push down the little tabs that hold the glass in.
4. Cover your work surface and set out the glitter glue, toothpicks and food coloring.
5. Position your frame so you’re painting on the back of it. Squirt glue all over the frame.
6. Add one drop of food coloring at a time to various parts of the frame. Have some fun and mix the colours up!
7. You can use a toothpick to blend the colors into each other and create some swirl or line designs.
8. Once you’re happy with your design, allow the glue to dry overnight.
This is a fantastic way for the family to get together and also give the kids the chance to play around with different colours and let their imaginations run wild. Thanks to Smart School House for the dynamic and creative idea!